Sell Digital Products with Done-for-You Content
Dominate Your Niche While Providing Affordable Solutions that Help People. Ebooks, Courses, Challenges, More!
- Create, launch, sell and digital products such as courses, ebooks, lead magnets, workshops, planners, journals and much more.
- Do all of this in a fraction of the time and for thousands less PER PRODUCT than if you hired expert ghostwriters and graphic designers.
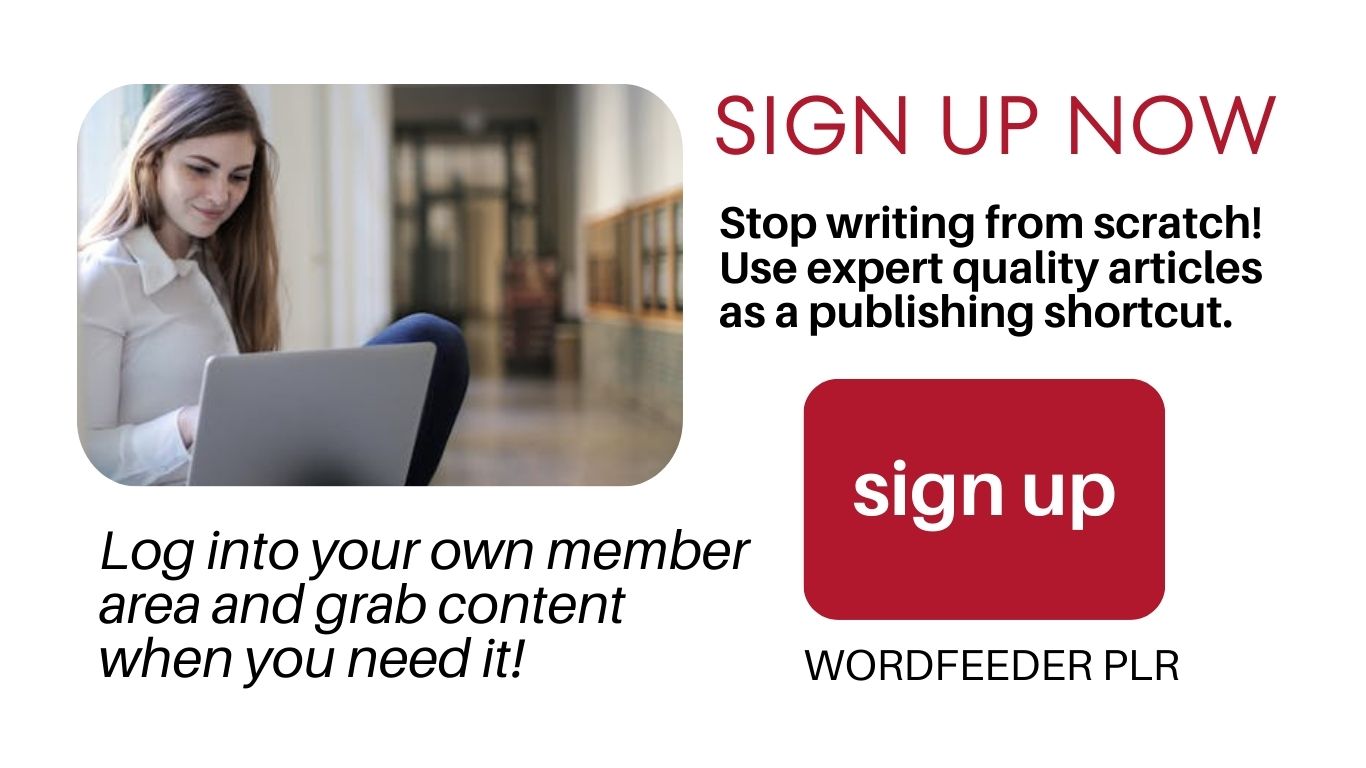
Get the best value with Wordfeeder's done-for-you content
- Brand our content as your own.
- Launch with confidence and ease.
- Turn our carefully written and researched articles into learning material your clients will love.
Create an E-Guide, Course, Email Challenge or Other Digital Product Using PLR, in 16 Simple Steps:
Step 1: Select a topic of intrigue, curiosity or urgency. Example: work-life balance is now revived in the post-pandemic, flexible work landscape. People want to know how to get it all done and hold their boundaries. They want practical, useful alternatives that fit their lifestyle and make allowance for family responsibilities while they earn an income.
Step 2: Search for PLR articles that enlighten on the subject. Vary your terms before deciding on the focus of your digital product.
Step 3: Collect content. Place all the articles that you gather and documents of notes and resources that you just down during your research, into a folder on your computer.
Step 4: Outline your digital product. Fill in the informational part first, to make into an ebook if that's what you're creating. If it's an email series, you'll want to save space to also add email text that introduces each lession.
Step 5: Copy and paste articles from your dedicated PLR collection. You can decide to include a full pack of related articles, or pick and choose the ones that best support the points you outlined for your project.
Step 6: Create a unique title and change all headlines. The best approach is to choose common terms.
Step 7: Add your intro and conclusion if you plan to include these. Sometimes a welcome letter fits nicely here, if appropriate. If you have personal experience overcoming the challenge that you talk about in your ebook, course or challenge, you can touch on that a bit in your welcome letter.
Step 8: Add your company details, bio and upsells. Be sure to include live links to your service pages and products if you plan to include these.
Step 9: Insert images. If this is a printable document, the images should be high-res files. If it's web-only, keep the images to smaller-resolution .JPG files so the PDF loads faster and the file won't be too large.
Step 10: Edit and proofread for several rounds. You might want to bring in an extra pair of eyes, such as from a virtual assistant or JV (joint venture) partner, to make sure nothing was overlooked.
Step 11: If you're creating an e-guide, make a PDF of your document. This is what customers will receive as an automatic file download after they order. Upload your PDF to the proper server such as your website URL, or your email list manager, so you can share the link. You can also upload your PDF to a platform like e-junkie.
Step 12: Set up for purchase. Key steps to this: if you plan to make this an email challenge series, set up a unique list that people will sign up for after they order. Set up a unique product on PayPal or your chosen payment processor, that people can order which will guide them to the welcome page and signup. If you're just selling a stand-alone ebook or guide, you can skip the list creation step.
Step 13: Market your product. Start publishing articles that fit the subject, so that people from around the web who are searching for solutions to this problem will find you. Set up a sign-up form for them to hop on your list. Prepare all promotional materials such as a squeeze page, promotional offers, marketing emails and social media posts.
Step 14: Give a start and end date for the offer. Definitely set up a nice sales page that contains all details about the product, and makes a good, persuasive case for ordering.
Step 15: Launch to your list! Send a series of emails to remind them of this time-sensitive offer. Point out the benefits. Share a few tips from the course or e-guide to stoke interest. Give a few last-chance for the price reminders. Maybe throw in a bonus, like reduced pricing on your coaching if they order within a certain time-frame.
Step 16: Get feedback from your customers, and if positive, add their testimonials to your sales page.
Step 17: Conclude the offer. When the promotion ends, you can archive the product and then plan to pull it out for another special offer next year. Or, keep it available at a higher price in case web searchers want to order during a non-promotional time.
That's it! You just used PLR to create a unique, compelling and engaging digital product. Now you can do it all over again, any time you like.
More Tips on How to Use Done-for-You Content as a Major Publishing, Launching, Promoting and Profiting Shortcut in Your Online Business.
- Boost Your Essential Oil Sales: Here's How to Do it With Fresh, Informative PLR Content
- Create a Lead Magnet in Canva Using Done-for-You Content
- Make Money with a Low-Carb Dieting Blog
- Steps to Creating an Essential Oils Guide
- Strategic Blogging Positions You as an Expert